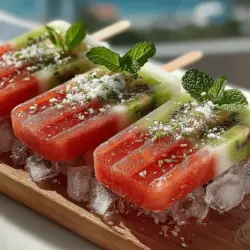
As the summer sun blazes overhead, there’s nothing quite like the joy of indulging in a refreshing, icy treat. Homemade popsicles have become a beloved staple for cooling off during those sweltering days, offering a delightful way to enjoy a burst of flavor while beating the heat. Among the myriad of flavors and combinations, Watermelon Kiwi Bliss Pops stand out as a vibrant, healthy choice that perfectly encapsulates the essence of summer. These pops not only tantalize the taste buds but also nourish the body, making them an ideal addition to your seasonal repertoire.
At the heart of Watermelon Kiwi Bliss Pops is a harmonious blend of two super fruits: watermelon and kiwi. Watermelon, often referred to as nature’s hydrant, is renowned for its high water content, providing hydration and refreshment with every bite. Kiwi, on the other hand, is a nutrient powerhouse, packed with vitamins and minerals that support overall health. Together, these ingredients create a popsicle that is not only delicious but also rich in health benefits, making it a guilt-free indulgence suitable for all ages.
The Appeal of Homemade Popsicles
One of the greatest advantages of making popsicles at home is the complete control it grants you over the ingredients. Unlike store-bought options, which often contain preservatives, artificial flavors, and excessive sugars, homemade popsicles can be crafted with wholesome, natural ingredients tailored to your taste preferences. This means you can experiment with different flavor profiles, adjust sweetness levels, and even sneak in some additional nutrients without compromising on taste.
Furthermore, the customization aspect of homemade popsicles extends to dietary needs and preferences. Whether you’re vegan, dairy-free, or simply looking to cut down on sugar, you can easily modify recipes to suit your lifestyle. This flexibility not only empowers you as a maker but also ensures that everyone can enjoy a refreshing treat that aligns with their dietary choices.
When comparing homemade popsicles to store-bought varieties, the difference in taste is often striking. Many commercially available popsicles can be overly sweet and lack the authentic flavors of real fruit. In contrast, the Watermelon Kiwi Bliss Pops offer a vibrant and natural taste that comes directly from the fruits themselves, allowing you to experience the true essence of summer in each bite.
Understanding the Main Ingredients
To create the perfect Watermelon Kiwi Bliss Pops, it’s essential to understand the main ingredients that contribute to their deliciousness and health benefits. Let’s dive deeper into the nutritional profiles of watermelon, kiwi, coconut water or coconut milk, and natural sweeteners.
Watermelon: Nature’s Hydrant
Watermelon is a quintessential summer fruit, celebrated for its refreshing taste and hydrating properties. Comprising about 92% water, this juicy fruit is perfect for quenching thirst on a hot day. Beyond its hydrating capabilities, watermelon is rich in essential vitamins and antioxidants, including vitamins A and C, which are vital for skin health and immune support.
The high levels of lycopene found in watermelon also offer impressive antioxidant properties, helping to combat oxidative stress and inflammation in the body. This makes watermelon an excellent base for popsicles, as it not only provides a juicy flavor but also contributes to a nutritious treat. By incorporating watermelon into your popsicle recipe, you’re ensuring that each bite is packed with hydration and health benefits.
Kiwi: A Nutrient Powerhouse
Kiwi, often overlooked in favor of more common fruits, is a nutrient-dense powerhouse that deserves a spotlight. This small, fuzzy fruit is a fantastic source of vitamin C, which plays a crucial role in immune function, skin health, and collagen production. Additionally, kiwi is high in dietary fiber, supporting digestive health and promoting a feeling of fullness.
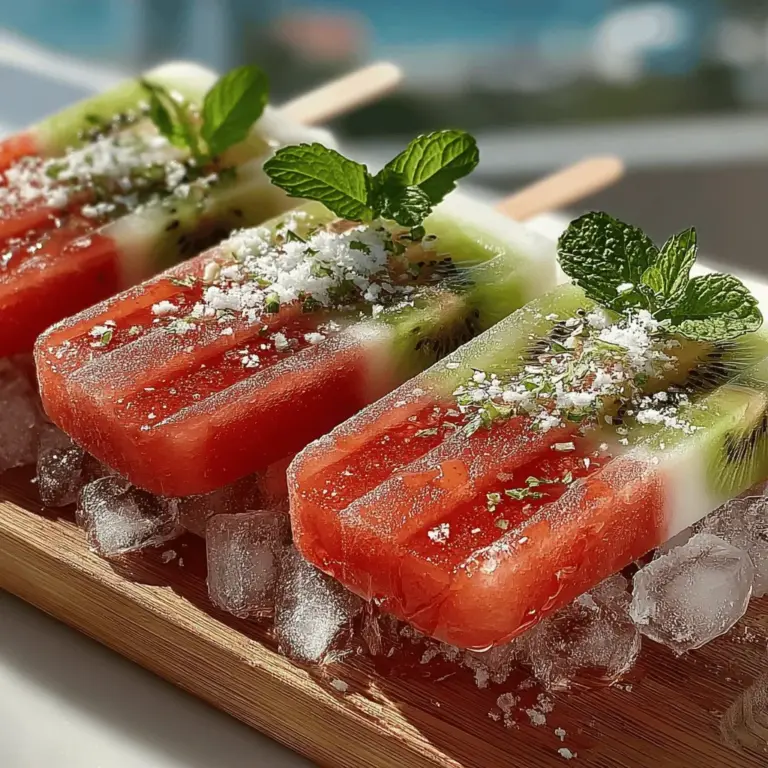
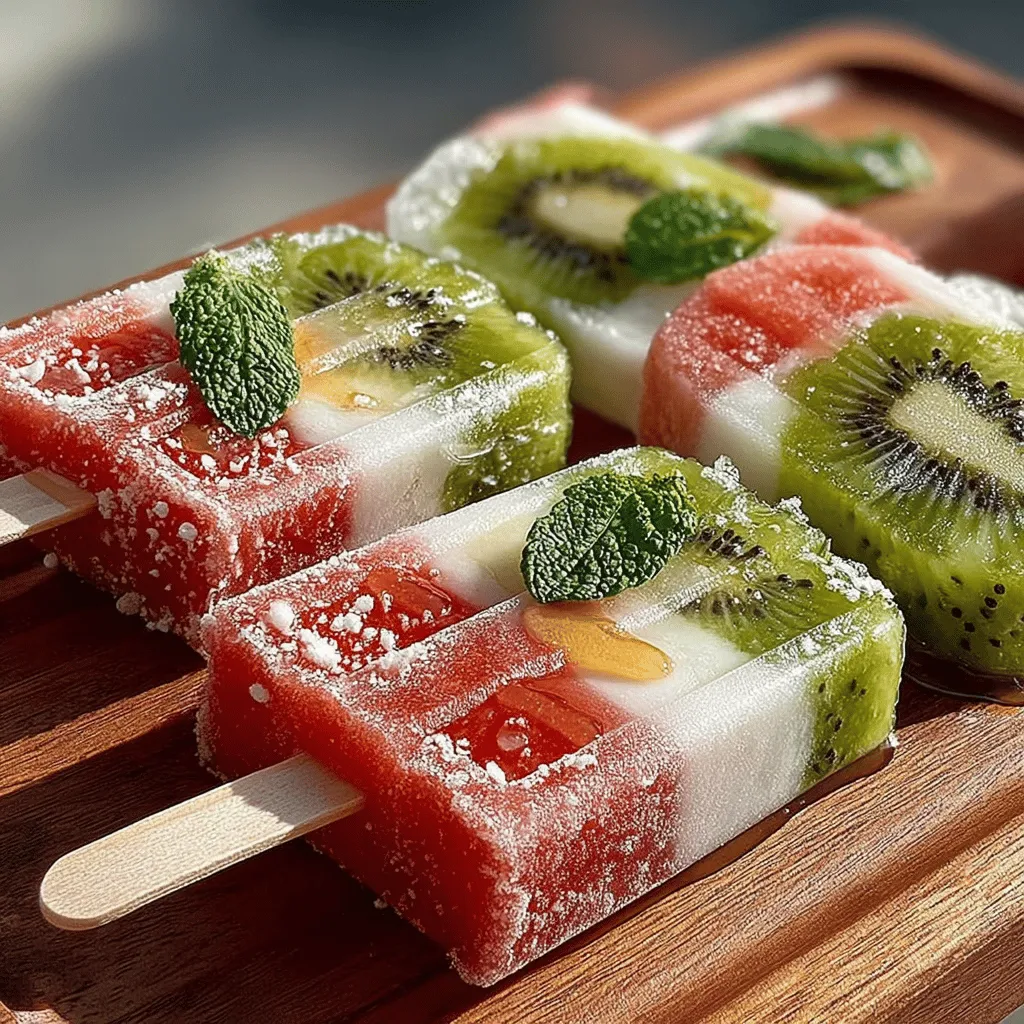
One of the standout features of kiwi is its unique tartness, which beautifully complements the sweet, juicy flavor of watermelon. This combination not only enhances the overall taste profile of the popsicles but also adds a delightful texture that makes them even more enjoyable to eat. The vibrant green color of kiwi also contributes to the visual appeal of the Watermelon Kiwi Bliss Pops, making them an enticing treat that looks as good as it tastes.
Coconut Water vs. Coconut Milk
When it comes to adding a creamy element to your Watermelon Kiwi Bliss Pops, you have the option of using either coconut water or coconut milk, each offering its own unique benefits.
Coconut water is a natural electrolyte-rich beverage that hydrates and replenishes the body, making it an excellent choice for summer treats. It has a light, subtly sweet flavor that pairs well with the fruit flavors in the popsicle. Its low-calorie content and hydrating properties make it a fantastic addition to any popsicle recipe, especially for those looking to create a lighter treat.
On the other hand, coconut milk offers a creamier texture and a richer flavor, which can give your popsicles a more indulgent mouthfeel. While it is higher in calories and fat compared to coconut water, it is also rich in nutrients such as manganese and copper. Choosing between coconut water and coconut milk will largely depend on your desired outcome for the popsicles—whether you prefer a light and refreshing treat or a creamy, indulgent treat.
Sweeteners: Honey vs. Agave Syrup
When it comes to sweetening your Watermelon Kiwi Bliss Pops, opting for natural sweeteners can enhance both the flavor and nutritional profile of your popsicles. Two common choices are honey and agave syrup, each offering its own unique characteristics.
Honey is a natural sweetener that boasts a variety of health benefits, including antibacterial and anti-inflammatory properties. It adds a distinct flavor that can complement the fruity notes of the watermelon and kiwi. However, it’s important to note that honey is not suitable for vegans, so if you’re following a plant-based diet, agave syrup may be a better option.
Agave syrup, derived from the agave plant, has a mild flavor and is significantly sweeter than sugar, allowing you to use less while still achieving the desired sweetness. It has a lower glycemic index than honey, making it a popular choice for those looking to manage their blood sugar levels. When sweetening your popsicles, you can adjust the amount of honey or agave syrup to suit your personal preference, ensuring that your Watermelon Kiwi Bliss Pops are just the right level of sweetness for your taste buds.
With an understanding of these key ingredients, you’re now ready to embark on creating your own Watermelon Kiwi Bliss Pops. The combination of hydrating watermelon, nutrient-rich kiwi, and your choice of coconut base and natural sweeteners will lead to a refreshing summer treat that everyone will love. Stay tuned for the next part of this article, where we will detail the step-by-step process of making these delightful pops from scratch!
Lime Juice and Salt: Enhancing Flavors
Lime juice is a magical ingredient when it comes to balancing flavors in desserts, especially in refreshing summer treats like Watermelon Kiwi Bliss Pops. The bright acidity of lime juice cuts through the natural sweetness of watermelon and kiwi, creating a harmonious blend that tantalizes the taste buds. A splash of lime not only enhances the flavor but also adds a zesty brightness that makes each bite refreshing.
In addition to lime juice, a pinch of salt plays a pivotal role in elevating the overall flavor profile. Salt enhances sweetness and can make the flavors pop without making the popsicles taste salty. This balancing act is crucial in achieving the perfect taste that keeps you coming back for more. When preparing your Watermelon Kiwi Bliss Pops, don’t skip these essential ingredients, as they transform a simple recipe into a delightful culinary experience.
Step-by-Step Preparation of Watermelon Kiwi Bliss Pops
Preparing the Watermelon Layer
1. Gather Your Ingredients: Start by selecting a ripe watermelon. It should feel heavy for its size and have a uniform shape. For this layer, you’ll need approximately 4 cups of cubed watermelon, 1 tablespoon of lime juice, and a pinch of salt.
2. Blend the Watermelon: In a blender, combine the cubed watermelon, lime juice, and salt. Blend on high speed until smooth and no chunks remain. This should take about 30 seconds to 1 minute.
3. Achieving the Right Consistency: If the watermelon mixture is too thick, add a tablespoon of cold water to help it blend better. The goal is to have a pourable consistency that will create a beautiful base layer for your pops.
4. Pour into Molds: Carefully pour the blended watermelon mixture into popsicle molds, filling them about halfway. Leave space for the kiwi layer, which will be added later. Tap the molds gently on the counter to remove any air bubbles.
5. Freezing the Watermelon Layer: Place the molds in the freezer for about 2-3 hours or until the watermelon layer is firm to the touch. This will ensure that the two layers don’t mix when you add the kiwi layer.
Creating the Kiwi Layer
1. Prepare the Kiwis: For this layer, you will need 4 ripe kiwis and about 1 cup of coconut water. Peel and chop the kiwis into smaller pieces.
2. Blend the Kiwi Mixture: In a blender, combine the chopped kiwis and coconut water. Blend until smooth. Taste the mixture; if you prefer a sweeter pop, you can add a tablespoon of honey or agave syrup for added sweetness.
3. Pour Over the Frozen Watermelon Layer: Once the watermelon layer is frozen, remove the molds from the freezer. Gently pour the kiwi mixture over the frozen layer, filling the molds to the top. Again, tap the molds gently to ensure there are no air pockets.
4. Freeze the Kiwi Layer: Place the molds back in the freezer and allow them to freeze for at least 4-6 hours, or until completely solid.
Freezing Techniques for Best Results
Freezing popsicles may seem straightforward, but a few techniques can ensure the best results.
– Even Freezing: Ensure your pops are placed in a level area in the freezer to avoid uneven freezing. If your freezer has a quick-freeze option, use that to speed up the process without compromising texture.
– Testing for Doneness: The Watermelon Kiwi Bliss Pops are ready to serve when they feel solid and firm to the touch. If you’re unsure, insert a toothpick into the center; it should come out clean without any wet mixture clinging to it.
Serving and Presentation Ideas
Presentation is key when serving your Watermelon Kiwi Bliss Pops. Here are some creative suggestions to enhance your serving experience:
– Garnish with Fresh Mint: Adding a sprig of fresh mint to each popsicle not only beautifies the presentation but also adds an aromatic element that complements the fruity flavors.
– Serving Suggestions: These pops are perfect for summer gatherings. Pair them with light snacks like a fresh fruit platter, cheese board, or even grilled shrimp. They also make an excellent accompaniment to refreshing summer drinks such as iced tea or lemonade.
– Creative Serving Styles: Consider serving the pops on a bed of crushed ice for a striking display. Alternatively, you can arrange them on a colorful platter to make them the centerpiece of your summer BBQ.
Health Benefits of Watermelon Kiwi Bliss Pops
Not only are Watermelon Kiwi Bliss Pops delicious, but they also come packed with health benefits:
– Watermelon: Hydrating and low in calories, watermelon is rich in vitamins A and C, as well as antioxidants like lycopene, which can help reduce inflammation and promote heart health.
– Kiwi: This small fruit is a powerhouse of nutrients, providing a good source of vitamin C, vitamin K, and fiber. Kiwi is also known for its antioxidant properties and can aid in digestion.
– Coconut Water: A great alternative to sugary drinks, coconut water is hydrating and contains electrolytes, making it an excellent choice for replenishing fluids during hot summer days.
When combined, these ingredients not only create a refreshing treat but also align perfectly with a healthy lifestyle. They are a guilt-free indulgence that can be enjoyed by everyone, including those on a health-conscious diet.
Conclusion
In summary, Watermelon Kiwi Bliss Pops are not only a refreshing and delightful treat to beat the summer heat but also a nutritious option that can be easily made at home. The balance of flavors achieved by lime juice and a pinch of salt enhances the sweetness of the fruits, while the vibrant colors make them visually appealing.
Whether you are hosting a summer gathering, looking for a quick snack, or simply wanting to indulge in something sweet and healthy, these pops are sure to impress. So grab your ingredients, follow the simple steps outlined above, and enjoy the blissful taste of summer with your homemade Watermelon Kiwi Bliss Pops!