It was a crisp Saturday morning in late autumn, the kind of day when the house smells like a blend of fresh coffee, toasted bread, and a whisper of something sweet lingering in the air. I was half‑asleep, shuffling to the kitchen, when I heard the faint pop of a cookie bag opening on the counter. My kids had sneaked in a pack of chocolate‑chip “Cookie Monster” cookies, and the sight of those tiny dark morsels sparked an idea that would soon become a family favorite. The moment I imagined a soft, buttery roll hugging a river of melted chocolate chips, I could almost hear the delighted squeals of my little ones already.
The first time I tried this mash‑up, the kitchen filled with a cloud of cinnamon‑spiced steam that wrapped around me like a warm hug. As the rolls rose, their golden tops glistened, and the chocolate chips melted into pockets of gooey, sweet decadence that peeked through the caramelized crust. When I finally lifted the lid, the aroma was a symphony of buttery dough, warm cinnamon, and that unmistakable chocolate‑cookie richness—an olfactory reminder of childhood snack time, but elevated to a brunch‑worthy treat. Trust me, the first bite was a revelation: the softness of a classic cinnamon roll met the playful crunch of Cookie Monster cookies, creating a texture that was at once fluffy, chewy, and delightfully crunchy.
What makes these Cookie Monster Cinnamon Rolls truly special isn’t just the flavor marriage; it’s the way they bring people together around the table. Imagine the scene: a stack of warm rolls on a platter, steam still rising, each piece drizzled with a light glaze that catches the light. Your family reaches in, pulls a roll apart, and watches the chocolate‑chip‑laden center ooze out, while the scent of cinnamon swirls around the room. It’s the kind of dish that turns an ordinary morning into a celebration, and the best part? It’s surprisingly simple to make, even for a home cook who’s still mastering the art of dough.
But wait—there’s a secret technique hidden in step four that will take your rolls from good to unforgettable. I’ll spill the beans later, but first let’s dive into why this recipe works so well and what makes each bite a little piece of heaven. Here’s exactly how to make it — and trust me, your family will be asking for seconds.
🌟 Why This Recipe Works
- Flavor Depth: The combination of warm cinnamon, buttery dough, and chocolate‑chip pockets creates layers of taste that build with each bite. The spices awaken your palate, while the chocolate adds a nostalgic sweetness that feels both comforting and indulgent.
- Texture Harmony: You get a soft, pillowy interior, a slightly crisp crust, and surprise bursts of melty chocolate chips. This contrast keeps the mouthfeel interesting from the first chew to the lingering aftertaste.
- Ease of Execution: Despite sounding elaborate, the dough uses a single‑rise method that streamlines the process. No need for complicated folds or multiple proofing stages—just mix, rise, roll, and bake.
- Time Efficiency: With a total time of about 45 minutes, you can whip up a batch while the kids finish their cartoons or while the coffee brews. The quick rise and bake time make it perfect for weekend brunch or a special weekday treat.
- Versatility: The base dough can be adapted for other flavors—think apple‑cinnamon, pumpkin spice, or even a savory herb version. The recipe serves as a canvas for endless creativity.
- Ingredient Quality: Using fresh, high‑quality butter and real chocolate chips elevates the whole dish. The richness of the butter pairs perfectly with the subtle tang of the milk, while the chocolate adds depth without overpowering.
- Crowd‑Pleasing Factor: Both kids and adults love the familiar taste of cookies wrapped in a comforting roll. It’s a sweet surprise that feels like dessert but works as a hearty breakfast or brunch.
- Nutrition Balance: While indulgent, the recipe still offers protein from the egg and a modest amount of fiber from the flour, making it a satisfying start to the day without feeling overly heavy.
🥗 Ingredients Breakdown
The Foundation
The dough starts with active dry yeast, warm milk, and a touch of sugar to feed the microorganisms. This combination creates a light, airy structure that will rise beautifully. I always use whole‑milk for extra richness, but you can substitute with low‑fat milk if you prefer a lighter crumb. Tip: Make sure the milk is around 110°F—too hot and you’ll kill the yeast, too cold and the rise will be sluggish.
Aromatics & Spices
Cinnamon is the star here, paired with brown sugar for a deep, molasses‑like sweetness. The brown sugar not only sweetens but also adds moisture, ensuring the rolls stay soft after baking. If you love a spicier kick, a pinch of nutmeg or ground ginger can be added without overwhelming the classic flavor profile. Selection tip: Choose a fresh, fragrant cinnamon—Ceylon cinnamon offers a subtle, sweet flavor, while Cassia gives a stronger, more robust spice note.
The Secret Weapons
Mini chocolate chips, or better yet, crushed Cookie Monster cookies, are what turn this into a true “Cookie Monster” experience. They melt into pockets of gooey chocolate that surprise the eater with each bite. If you can’t find mini chips, roughly chop regular chocolate chips or even use a mix of white and milk chocolate for a marbled effect. Pro tip: Toss the chips in a tablespoon of flour before folding them into the filling; this prevents them from sinking to the bottom of the roll.
Finishing Touches
A simple glaze made from powdered sugar, butter, milk, and vanilla adds a glossy finish that drapes over the warm rolls. The glaze sets just enough to give a slight snap, yet stays soft enough to melt into the crevices. For a festive twist, add a dash of orange zest or a sprinkle of sea salt on top of the glaze right after you drizzle it. Choosing the best glaze: Use confectioners’ sugar that’s sifted to avoid clumps, and melt the butter gently to keep the flavor pure.
With your ingredients prepped and ready, let's get cooking. Here’s where the fun really begins...
🍳 Step-by-Step Instructions
In a small bowl, combine the active dry yeast with the warm milk and a pinch of the granulated sugar. Let it sit for 5‑7 minutes until it becomes frothy and bubbly. This is the moment you’ll see the yeast come to life, and the aroma of fermented milk will start to fill the kitchen. Pro tip: If the mixture doesn’t foam, the milk might be too hot—let it cool a few minutes and try again.
In a large mixing bowl, whisk together the melted butter, remaining granulated sugar, the egg, and a splash of vanilla extract. Pour the foamy yeast mixture into the bowl and stir until fully combined. The batter should look glossy and slightly thick, signaling that the fats are well‑incorporated. Pro tip: Use a wooden spoon for this step; it helps keep the dough from getting too warm.
Gradually add the flour and salt to the wet mixture, stirring with a dough hook or sturdy spoon until a shaggy dough forms. Turn the dough onto a lightly floured surface and knead for about 6‑8 minutes, or until it becomes smooth, elastic, and no longer sticks to your hands. You’ll know it’s ready when a small windowpane test shows the dough stretching thin without tearing.
Place the kneaded dough in a lightly oiled bowl, cover it with a clean kitchen towel, and let it rise in a warm spot for 45‑60 minutes, or until doubled in size. While you wait, preheat your oven to 375°F (190°C). This rise is where the magic happens; the dough develops flavor and that airy texture we love. Here’s the thing: If you’re in a cooler kitchen, place the bowl inside an off oven with the light on to create a gentle heat.
Roll the dough into a large rectangle about ¼ inch thick. Spread the softened butter evenly over the surface, then sprinkle the brown sugar and cinnamon mixture, ensuring an even coating. Next, scatter the flour‑tossed chocolate chips across the dough, pressing them lightly so they adhere. The scent of butter, sugar, and cinnamon will start to fill the room, hinting at the deliciousness to come.
Starting from the long edge, tightly roll the dough into a log, sealing the seam as you go. Slice the log into 12 equal pieces using a sharp, fluted pastry cutter for clean edges. Place the rolls in a greased 9×13‑inch baking dish, leaving a little space between each so they can expand during the second rise.
Cover the dish loosely with foil and let the rolls rise again for 20‑25 minutes, or until they puff up and nearly touch each other. This second rise is crucial for a fluffy interior; it’s the moment when the dough truly becomes airy. Common Mistake: Over‑proofing can cause the rolls to collapse in the oven—keep an eye on the size and don’t let them double a second time.
Remove the foil and bake the rolls for 20‑25 minutes, or until they turn a beautiful golden brown and the chocolate chips are bubbling at the edges. As they bake, the aroma of cinnamon and chocolate will envelop your kitchen, making it impossible to resist a peek. Once out of the oven, let them cool for 5 minutes before drizzling the glaze over each roll.
For the glaze, whisk together powdered sugar, melted butter, milk, and vanilla until smooth. Drizzle generously over the warm rolls, allowing it to melt into the crevices and create a glossy finish. Serve the rolls warm, and watch the chocolate chips stretch like a sweet, melty river. And the result? A breakfast that feels like a celebration every single morning.
And there you have it! But before you dig in, let me share some tips that will take this from great to absolutely unforgettable...
🔐 Expert Tips for Perfect Results
The Taste Test Trick
Before you bake the entire batch, bake a single mini‑roll as a test. This lets you gauge the perfect caramelization of the cinnamon sugar and the meltiness of the chocolate chips. I once skipped this step and ended up with a slightly under‑browned top, which taught me the value of a quick taste test.
Why Resting Time Matters More Than You Think
Allowing the dough to rest after the first knead relaxes the gluten strands, making the roll easier to shape without tearing. A short 10‑minute rest also helps the butter in the filling to stay soft, ensuring an even distribution of chocolate chips. I’ve seen beginners rush this step and end up with uneven rolls that crack during baking.
The Seasoning Secret Pros Won’t Tell You
A pinch of sea salt in the filling balances the sweetness and intensifies the chocolate flavor. Professional bakers often add a dash of salt to caramel or chocolate desserts for this exact reason. Trust me on this one: the subtle salt kick will make the rolls taste richer and more complex.
Glaze Timing Mastery
Apply the glaze while the rolls are still warm—this ensures the glaze seeps into the crevices instead of just sitting on top. If you wait until the rolls cool completely, the glaze will harden and lose its silky texture. I once let the rolls sit for too long and ended up with a stiff glaze that didn’t melt into the chocolate pockets.
The Perfect Bake Position
Place the baking dish on the middle rack and rotate it halfway through the bake. This promotes even browning and prevents the bottoms from getting too dark. The best part? You’ll get a uniform golden crust that’s crisp on the outside but still soft inside.
Storing for Maximum Freshness
If you need to store leftovers, wrap the rolls tightly in foil and then place them in an airtight container. Reheat gently in a 300°F oven for 5‑7 minutes, or microwave for 15 seconds with a damp paper towel to restore that fresh‑out‑of‑the‑oven softness. I’ve learned that a quick steam‑reheat keeps the interior moist while reviving the crisp crust.
🌈 Delicious Variations to Try
One of my favorite things about this recipe is how versatile it is. Here are some twists I've tried and loved:
Nutty Crunch Delight
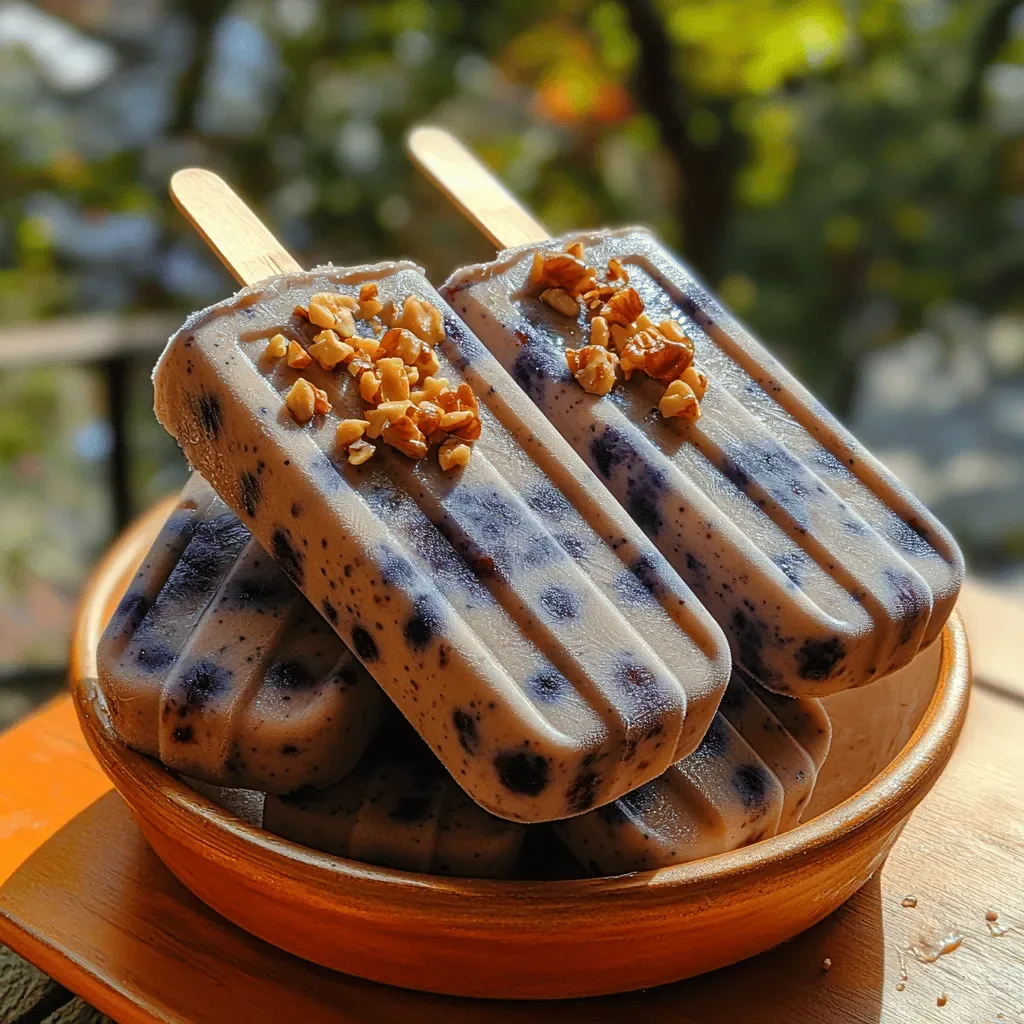
Add a handful of toasted chopped pecans or walnuts to the filling along with the chocolate chips. The nuts bring an earthy crunch that contrasts beautifully with the gooey chocolate, creating a more complex texture profile.
White Chocolate & Raspberry Swirl
Swap the dark chocolate chips for white chocolate chunks and fold in a spoonful of raspberry jam into the center of each roll before baking. The tartness of the raspberry cuts through the sweetness, while the white chocolate adds a creamy sweetness.
Pumpkin Spice Autumn
Replace half of the regular flour with pumpkin puree and add a pinch of pumpkin pie spice to the cinnamon mixture. This gives the rolls a subtle autumnal flavor and a beautiful orange hue that’s perfect for fall gatherings.
Mocha Madness
Mix a tablespoon of instant espresso powder into the brown sugar and cinnamon blend. The coffee notes deepen the chocolate flavor, turning the rolls into a sophisticated treat for adult brunches.
Coconut Dream
Stir shredded coconut into the glaze and sprinkle toasted coconut flakes on top before serving. The tropical aroma and slight chewiness add a delightful twist that pairs well with the chocolate chips.
Savory Herb & Cheese
For a daring brunch option, omit the chocolate and replace the brown sugar with grated Parmesan, then add fresh rosemary and thyme to the filling. The result is a savory roll that’s perfect alongside scrambled eggs and a mimosa.
📦 Storage & Reheating Tips
Refrigerator Storage
Place cooled rolls in an airtight container or a zip‑top bag and store them in the fridge for up to three days. To keep them from drying out, layer a damp paper towel over the rolls before sealing the container. This simple trick traps moisture and keeps the interior soft.
Freezing Instructions
Wrap each roll individually in plastic wrap, then place them in a freezer‑safe bag. They’ll freeze well for up to two months. When you’re ready to enjoy them, let them thaw at room temperature for 30 minutes, then reheat as described below.
Reheating Methods
For the best texture, reheat rolls in a preheated 300°F oven for 5‑7 minutes, or microwave for 15‑20 seconds with a splash of milk on the side to prevent drying. The trick to reheating without drying it out? A splash of milk or a dab of butter on the top before warming restores that melt‑in‑your‑mouth softness.