Imagine a summer‑day treat that feels like dessert but fuels your body with real fruit, protein, and antioxidants. Berry‑Banana Bliss Popsicles deliver that perfect balance of sweet, tangy, and refreshing, making every bite a mini celebration of health.
What sets this recipe apart is the seamless blend of ripe bananas with a medley of berries, all lightly sweetened with natural honey and brightened by a splash of lemon. No artificial colors, no added preservatives—just pure, vibrant flavor locked in a convenient, freezer‑ready stick.
Kids, athletes, and anyone craving a guilt‑free snack will adore these popsicles. Serve them at birthday parties, post‑workout refuels, or as a cool afternoon pick‑me‑up on a hot day. They’re also a clever way to sneak extra fruit into a picky eater’s diet.
The process is straightforward: mash, blend, pour, and freeze. You’ll spend only minutes preparing a batch that sets while you relax, then enjoy a ready‑to‑eat, nutrient‑dense treat whenever the craving hits.
Why You'll Love This Recipe
Natural Sweetness, No Guilt: The combination of ripe bananas and a drizzle of honey provides just enough sweetness to satisfy cravings while keeping added sugars to a minimum.
Protein‑Packed Boost: Greek yogurt adds a creamy texture and a punch of protein, helping to keep you fuller longer and supporting muscle recovery after exercise.
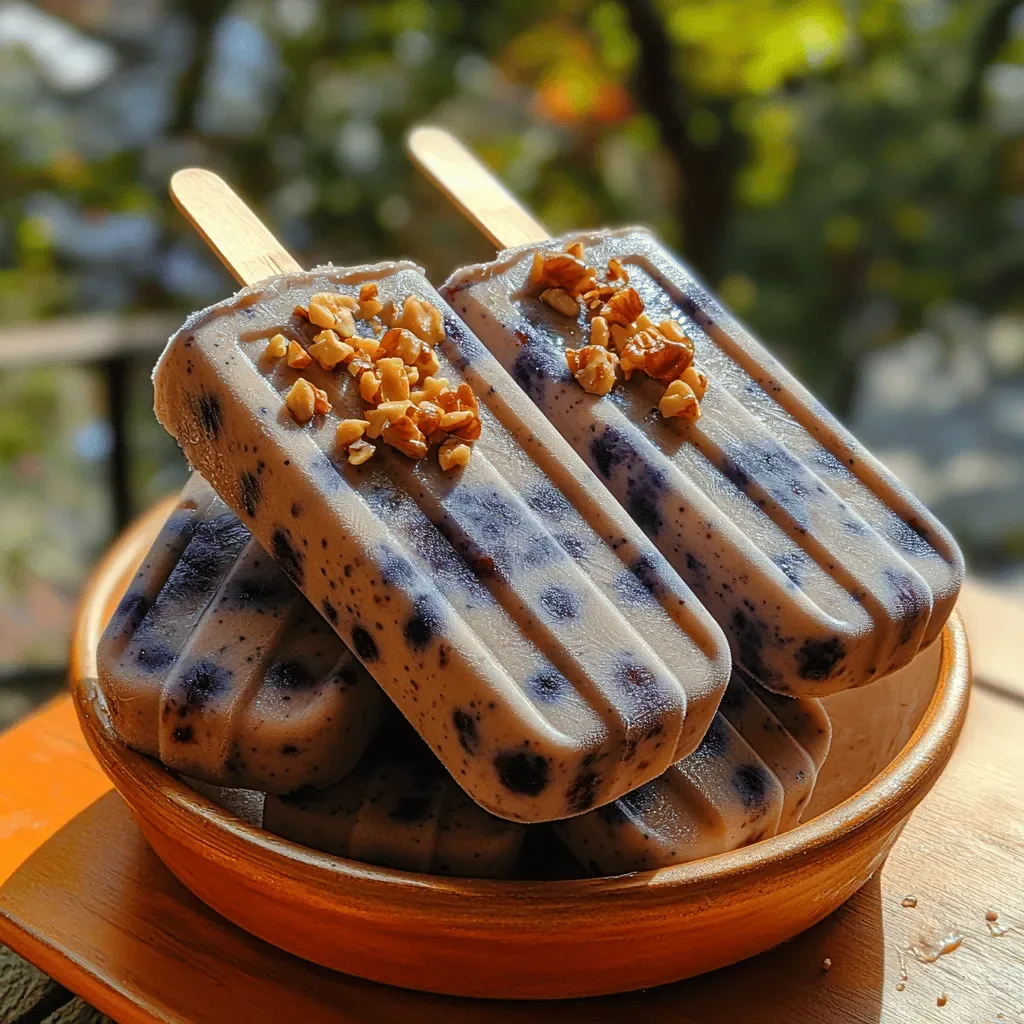
Vibrant Antioxidant Load: Strawberries and blueberries are rich in anthocyanins, vitamin C, and fiber, which work together to fight oxidative stress and support immune health.
Kid‑Friendly Fun Factor: The handheld popsicle format turns healthy eating into a playful experience, encouraging children to enjoy fruit without any battle over vegetables.
Ingredients
For these popsicles I rely on fresh, whole‑food ingredients that each play a specific role. The bananas provide a natural creamy base, while the berries contribute bright color and a burst of antioxidants. A touch of honey balances the tartness, and Greek yogurt adds protein and a velvety mouthfeel. Lemon juice lifts the flavors, and a pinch of sea salt enhances every nuance. Finally, sturdy molds and sticks make the presentation effortless.
Fruit Base
- 2 ripe bananas, sliced
- 1 cup fresh strawberries, hulled
- 1 cup fresh blueberries
Sweetener & Flavor
- 2 tablespoons honey (or maple syrup)
- 1 tablespoon freshly squeezed lemon juice
- 1 teaspoon pure vanilla extract
- Pinch of sea salt
Optional Creaminess
- ½ cup plain Greek yogurt
Equipment
- 8‑inch popsicle molds (silicone or plastic)
- Popsicle sticks (if molds don’t have built‑in handles)
The harmony of these ingredients is what makes the popsicles both tasty and nutritious. Bananas lend natural sweetness and a smooth texture, while the berries introduce a refreshing tartness and a burst of antioxidants. Honey deepens the flavor without overwhelming the fruit, and the lemon juice prevents the mixture from turning brown, preserving that inviting pink‑purple hue. Greek yogurt, if you choose to add it, boosts protein content and creates a silkier mouthfeel that rivals store‑bought versions. Together they form a balanced, freezer‑friendly treat that feels indulgent yet stays wholesome.
Step-by-Step Instructions
Preparing the Fruit Base
Begin by washing all fresh berries under cool running water, then gently pat them dry with a paper towel. Slice the bananas into ½‑inch rounds; this makes them easier to blend evenly. While the fruit is drying, set out your popsicle molds on a stable surface so they’re ready for the liquid mixture.
Blending and Sweetening
- Combine Fruit. Place the banana slices, strawberries, and blueberries into a high‑speed blender. Pulse a few times to break down the larger pieces before blending continuously for 30‑45 seconds until the mixture is smooth but still retains a slight texture.
- Add Wet Ingredients. Pour in the honey (or maple syrup), lemon juice, vanilla extract, and a pinch of sea salt. If you’re using Greek yogurt, add it now. Blend for an additional 15‑20 seconds until everything is fully incorporated and the mixture looks glossy.
- Taste and Adjust. Sample a small spoonful; the flavor should be sweet‑tart with a hint of vanilla. If it feels too tart, drizzle in an extra half‑tablespoon of honey. If the texture is too thick, thin with a splash of cold water or extra lemon juice—just enough to keep the mixture pourable.
- Strain (Optional). For a ultra‑smooth pop, push the blended mixture through a fine‑mesh sieve into a bowl, using a spatula to scrape out any remaining pulp. This step eliminates seeds and ensures a uniform texture that freezes evenly.
- Transfer to Molds. Carefully pour the liquid into each popsicle mold, filling them about ¼‑inch below the top to allow for expansion. Insert sticks if your molds require them, making sure they sit straight for easy removal later.
Freezing and Serving
Place the filled molds on a flat baking sheet (to prevent wobbling) and slide them into the freezer. Freeze for 4‑5 hours, or until the popsicles are completely solid. To release, run the outside of the mold under warm tap water for 5‑10 seconds; the pops will slip out effortlessly. Serve immediately, or store in a zip‑top freezer bag for up to 2 weeks.
Tips & Tricks
Perfecting the Recipe
Use Ripe Fruit. Over‑ripe bananas and fully red strawberries give the sweetest base and reduce the need for extra sweetener.
Cold Ingredients. Chill the berries and banana slices before blending; a colder blend freezes faster and reduces ice crystal formation.
Don’t Over‑Blend. Blend just until smooth. Over‑processing can introduce too much air, leading to a spongy texture after freezing.
Flavor Enhancements
Add a handful of fresh mint leaves for a cooling note, or swirl in a teaspoon of almond butter for a nutty undertone. For a tropical twist, substitute half the berries with mango or pineapple chunks and keep the honey level the same.
Common Mistakes to Avoid
Skipping the brief taste test can leave the pops too tart or overly sweet. Also, avoid filling molds to the brim; the mixture expands as it freezes, and an overfilled mold may crack or leak.
Pro Tips
Layered Pops. Pour half the base, freeze for 30 minutes, then add a swirl of Greek yogurt mixed with honey before filling the rest for a marbled effect.
Batch Prep. Blend a large batch and store the liquid in airtight containers in the freezer; you can pour into molds as needed without re‑blending.
Quick Release. If sticks are stubborn, dip the bottom of the mold in warm water for just a few seconds—enough to loosen the pop without melting the interior.
Variations
Ingredient Swaps
Swap strawberries for raspberries or blackberries for a deeper hue. Replace bananas with ripe mango for a tropical spin, and use agave nectar instead of honey for a vegan‑friendly version. Coconut milk can substitute Greek yogurt to add a dairy‑free creaminess.
Dietary Adjustments
For a low‑sugar diet, halve the honey and add a few drops of stevia. To keep it completely dairy‑free, omit the Greek yogurt and increase the fruit ratio. Gluten isn’t an issue, but always check packaged sweeteners for hidden wheat starch if you’re highly sensitive.
Serving Suggestions
Pair the popsicles with a light drizzle of dark chocolate for an indulgent finish, or serve alongside a fresh fruit salad for a brunch spread. They also make a bright addition to a kid’s lunchbox, especially when accompanied by a small container of nut‑free granola.
Storage Info
Leftover Storage
Once frozen, keep the popsicles in an airtight freezer bag or a sealed container to prevent freezer burn. Store them upright to avoid sticking together. They maintain peak flavor for up to two weeks; beyond that the texture may become slightly grainy.
Reheating Instructions
Popsicles are meant to be enjoyed frozen, but if you prefer a softer bite, let them sit at room temperature for 5‑7 minutes before serving. For a quick melt, run the stick end under warm water for a few seconds—this helps release the pop without compromising the frozen interior.
Frequently Asked Questions
Berry‑Banana Bliss Popsicles bring together the best of flavor, nutrition, and convenience in a single frozen bite. By following the detailed steps, you’ll achieve a smooth, vibrant treat that satisfies sweet cravings without compromising health. Feel free to experiment with fruit combos, sweeteners, or dairy‑free options—cooking is your playground. Grab a stick, take a bite, and enjoy the cool, refreshing goodness you’ve created!